Since I grew up in the late 1970s-1980s, I've long had a love of Coin Op Arcade games.
Mainly I've been into video games, but in the last 10 years or so I've also developed
a love of pinball as well. Now collecting arcade games is an expensive hobby, and
when you're on a budget sometimes you have to make due with what you can get your hands
on to.
In the last few years the field of Arcade Emulation has really exploded. With
some time and effort you can run real coin-op arcade games on your home PC, all without
inserting coins into the computer of course. ^_^
Around 2004-2005 I discovered Visual Pinball. It's arcade emulation software that runs
actual arcde ROM code, on your PC, and with the program Visual Pinball you can play
recreations of arcade pinball machines that actually run the original software!
So in 2008-2009 I thought it would be cool to make a video pinball cabinet. I figured I'd
mount a large-ish CRT monitor in the playfield (old free Tv perhaps) and use an encoder
board to control the flippers and such.
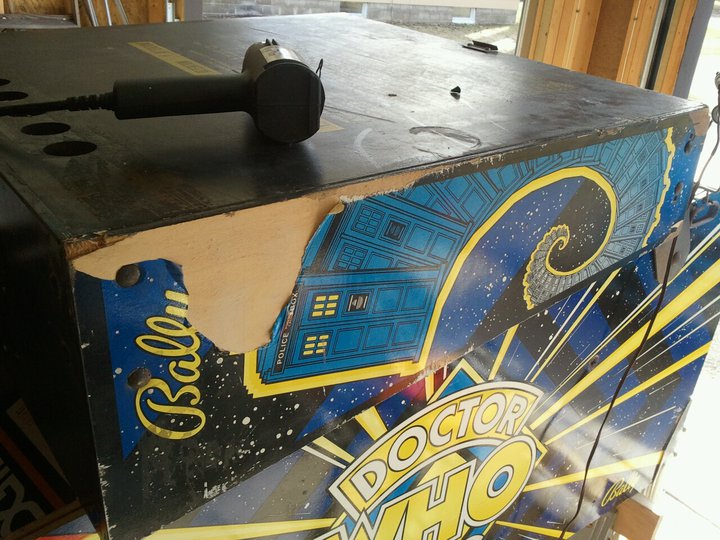
I picked up a GUTTED Bally Doctor Who pinball from a seller on ebay. The cab cost me
almost nothing, but the shipping was the expensive part. It was a bare cabinet with trashed
coin door, some buttons, backbox and no legs or glass or anything like that.
It sat in the garage for 1-2 years, then the cottage industry started really taking off. The price
of LCD TV sets had dropped significantly making it possible to put a large screen monitor in your
cabinet, making it look like a real pinball when set in portrait mode.
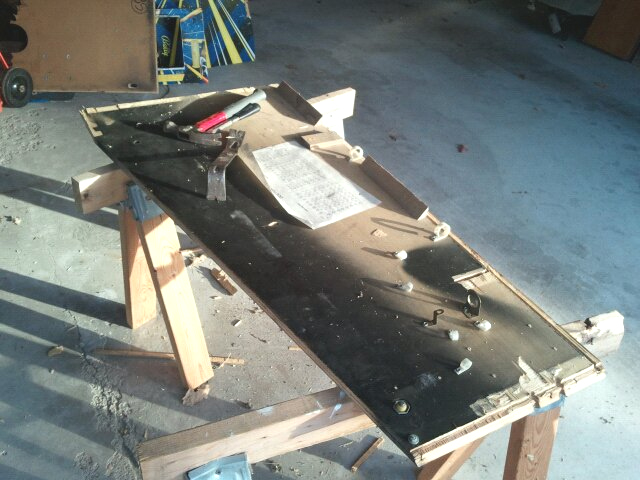
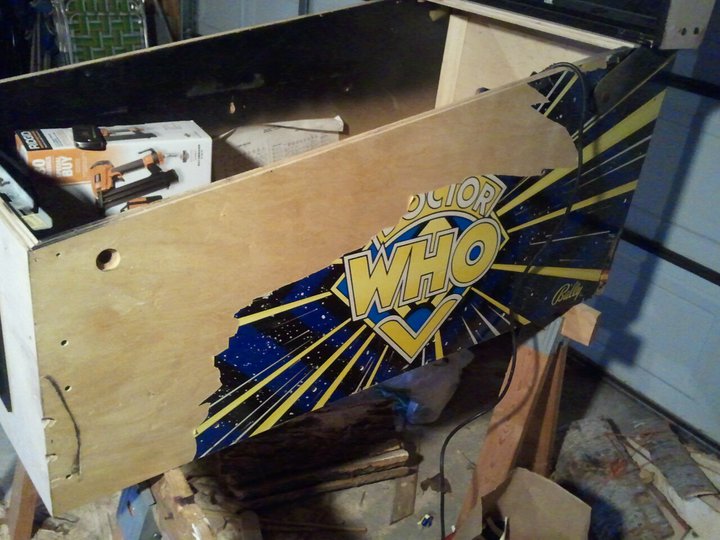
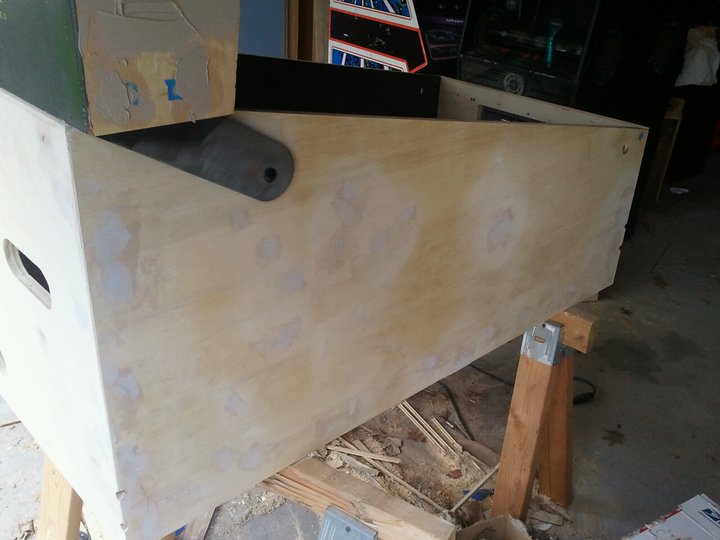
Since the DW cabinet was trashed, I decided to start by stripping the bad art off and
fixing the dings and dents in the cabinet with Bondo.
Starting to strip the cabinet down for refurb.
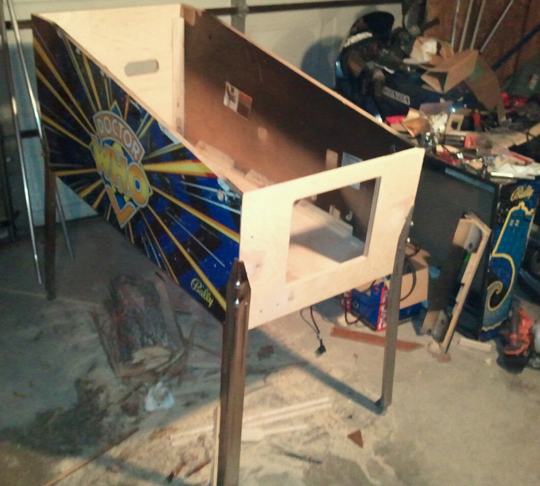
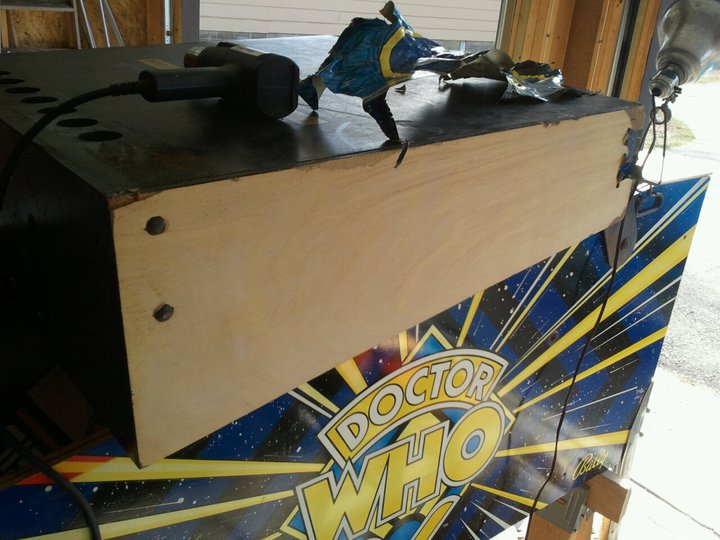
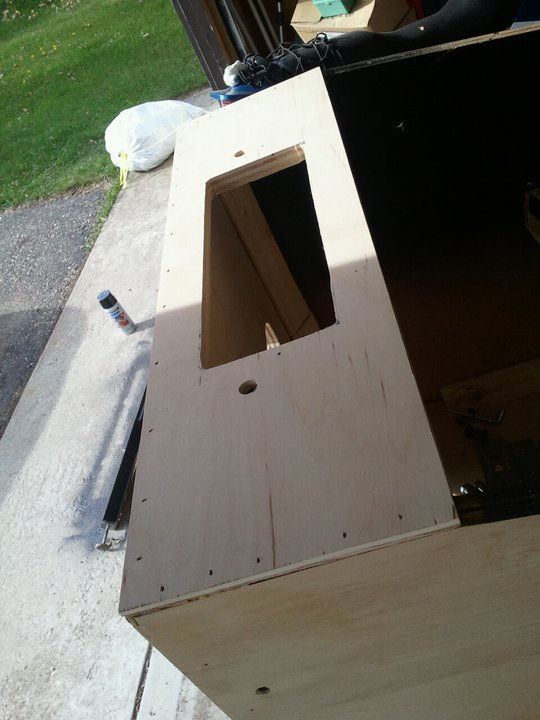
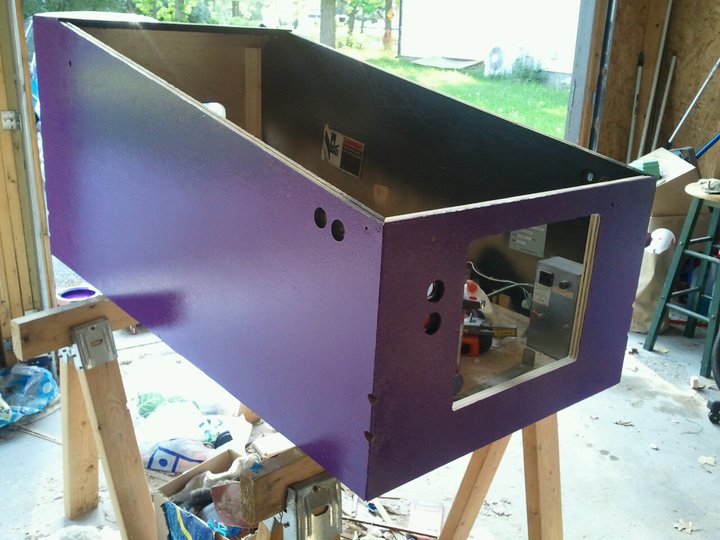
I decided that in order to get the closest to actual pinball size, I was going to
use a larger scale monitor, about 42" in diameter. In order to fit that in the
cabinet I was going to need to turn this cab into a ''wide body'' style, similar
to my Williams Indiana Jones cabinet. In order to do this I was going to need to
make a new door panel, back panel and bottom panel from wood. I used furniture grade
plywood for this. It was spendy, but the nice surface should take paint well.
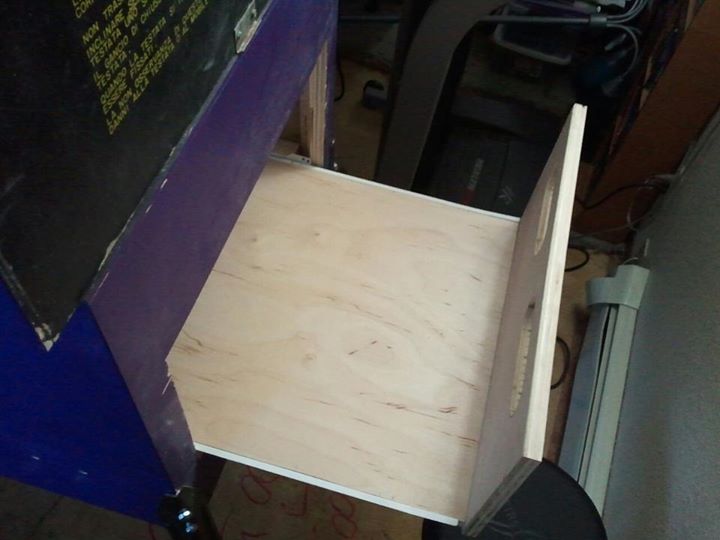
Breaking the cab apart...
Almost done!
It's like a big wooden jigsaw puzzle...
2011
So apparently during the rebuild process... I didn't take any pictures. So imagine
I had an 8x8 sheet of plywood that I measured big panels out of, then proceeded to route
and jigsaw some holes for vents and doors. Then ripped some triangle shaped corner bracing
and then recessed the bottom panel in place... and Gorilla Glued and wood screwed the whole
works togeather.
THEN... I started stripping the old cabinet art off and prepping the cab for painting, with
our old friend Mr. Bondo...
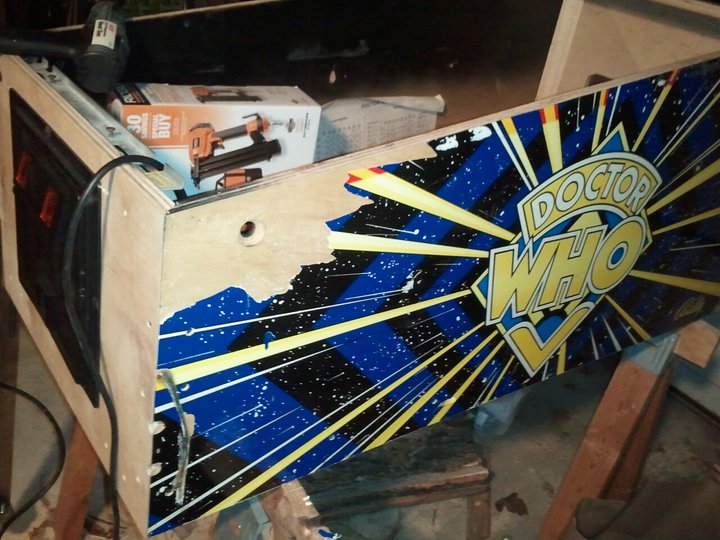
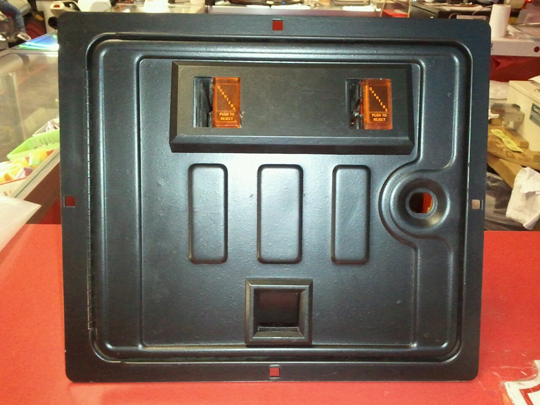
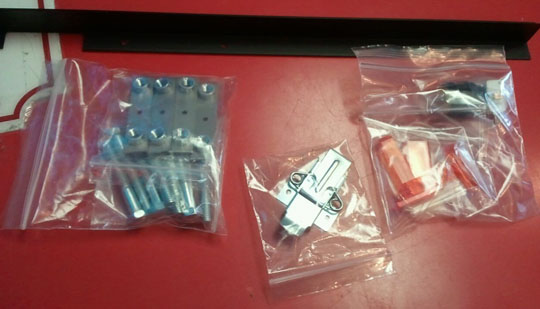
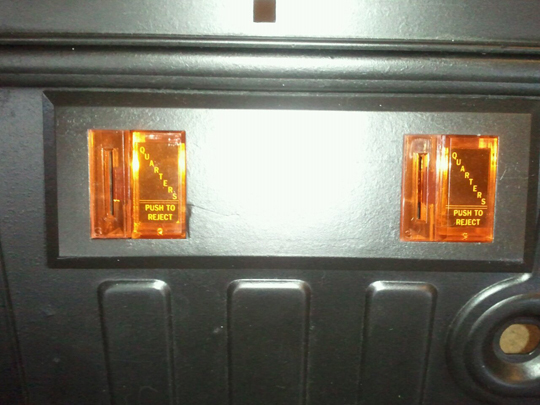
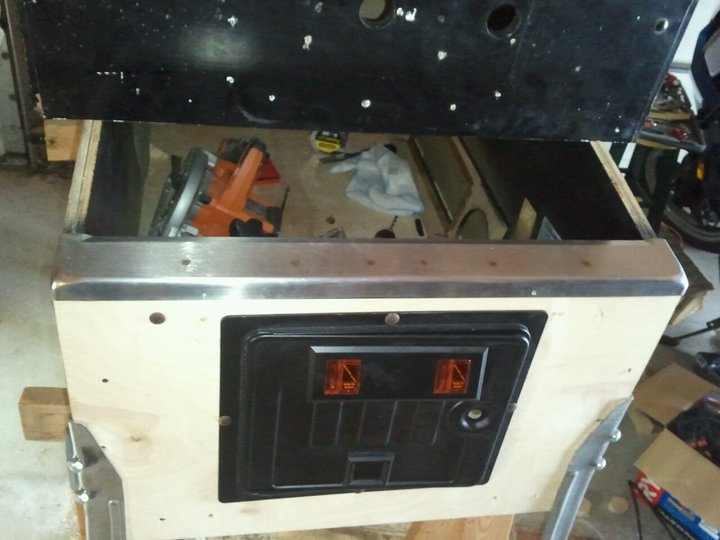
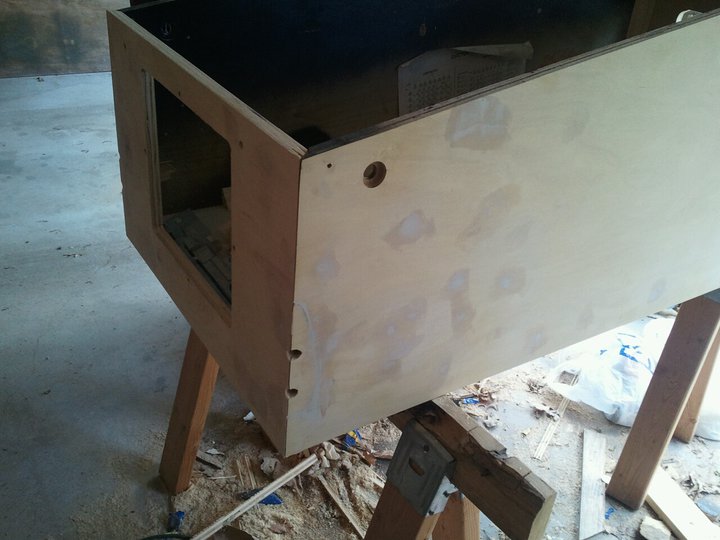
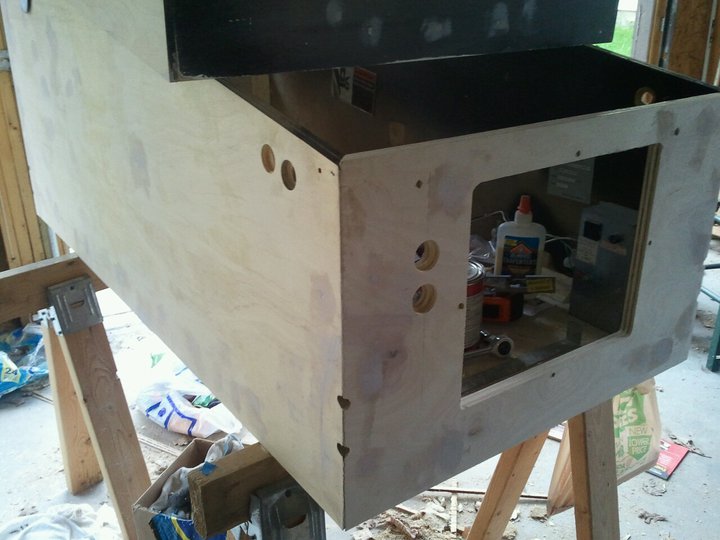
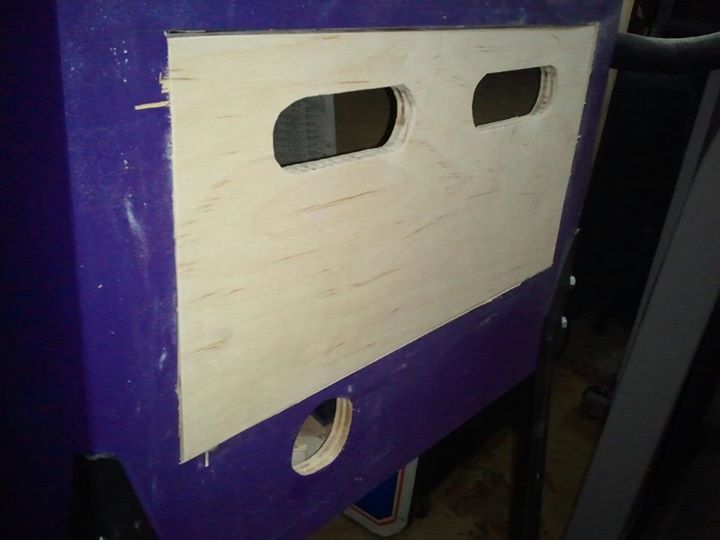
The new front panel with the door test mounted. I believe at this point I had already
purchased new coin slot push buttons and other missing pieces. Then sanded and repainted
the door.
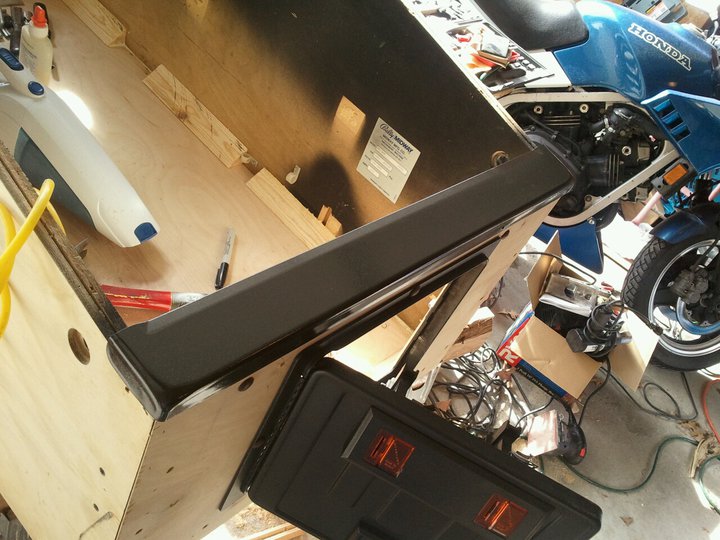
The wide-body lock down bar was rewelded by a former co-worker for me (the
internal bracket welds had failed), and fit the cab perfectly! I repainted this black as well.
Continued with the art stripping. Heatgun helps, but not well. It was VERY labor
intensive getting the old vinyl art off...
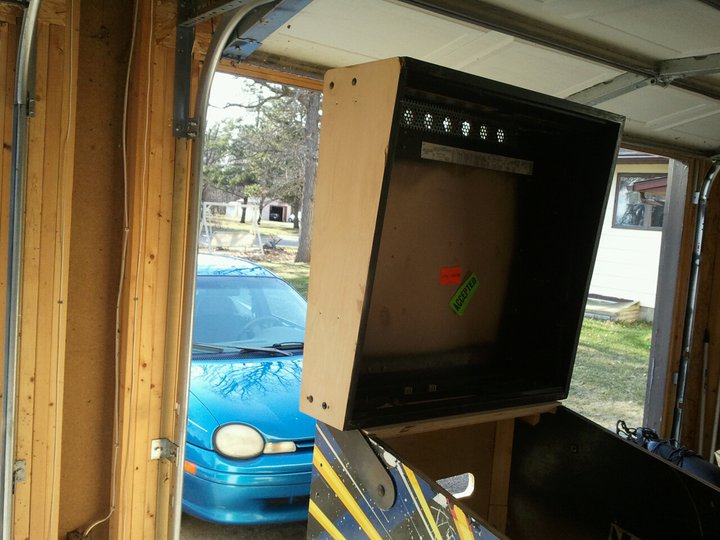
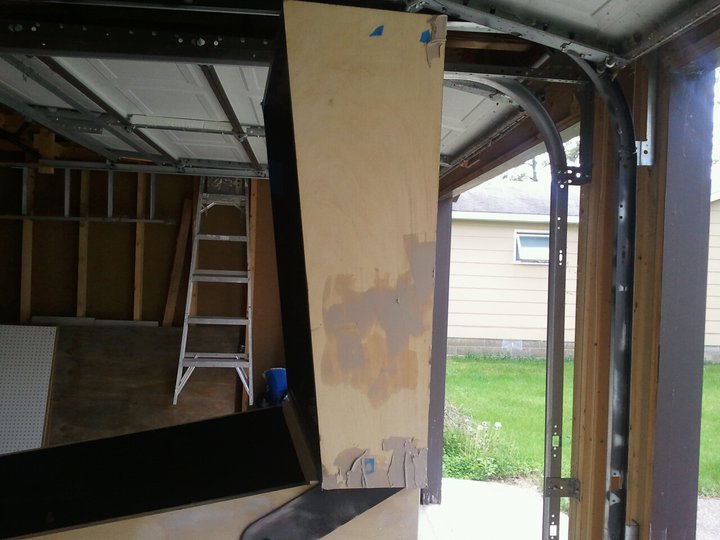
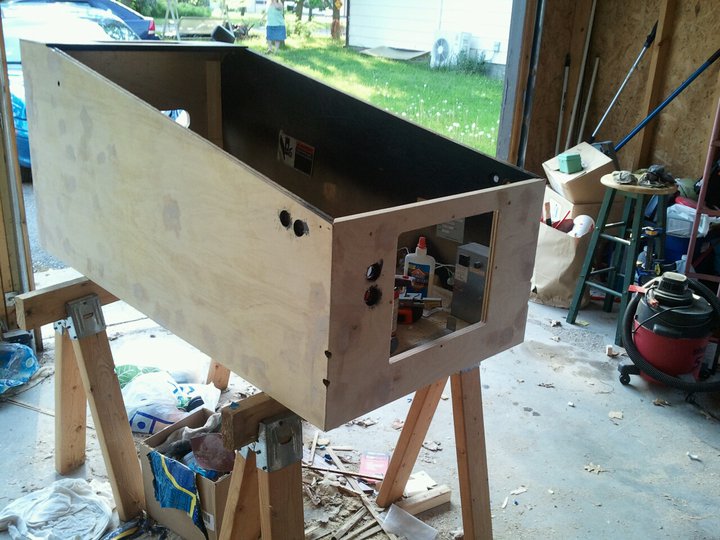
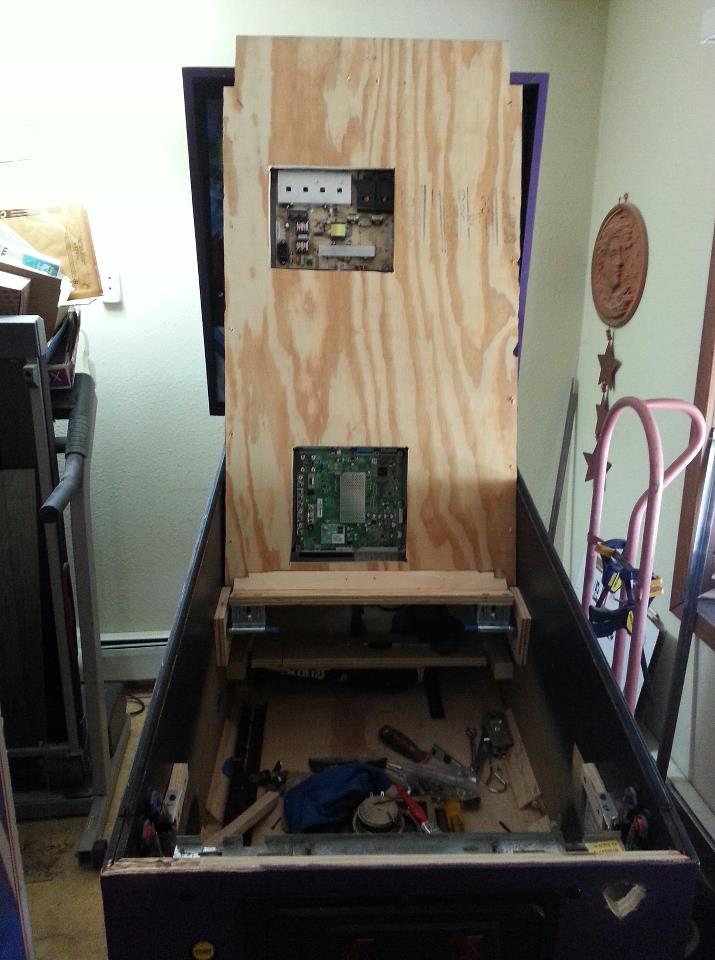
Added the custom size rear plate that the wiring goes to and what the backbox will
bolt to for security...
And the minty fresh painted lockdown bar...
And... Bondo...
Nothing says fun (and pink dust) like sanding Bondo...
In case you're wondering... ''Why did you bondo the new front panel?'' it was because I had to screw
or nail the bottom panel to the support brackets. And that involved filling and sanding. I also
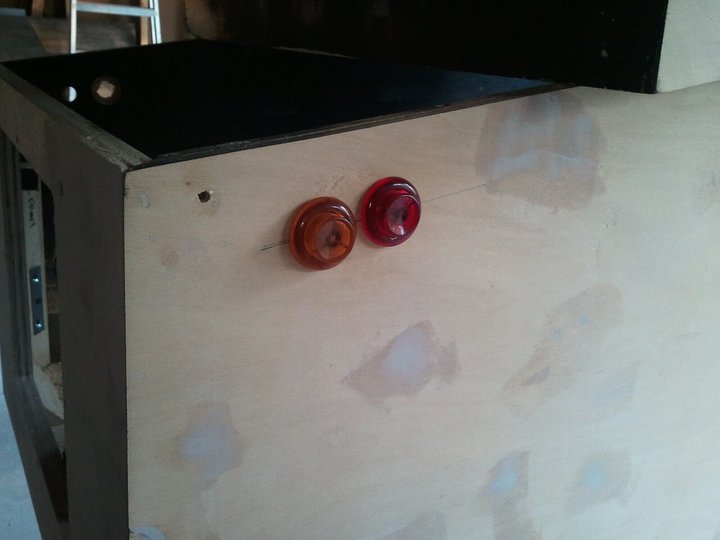
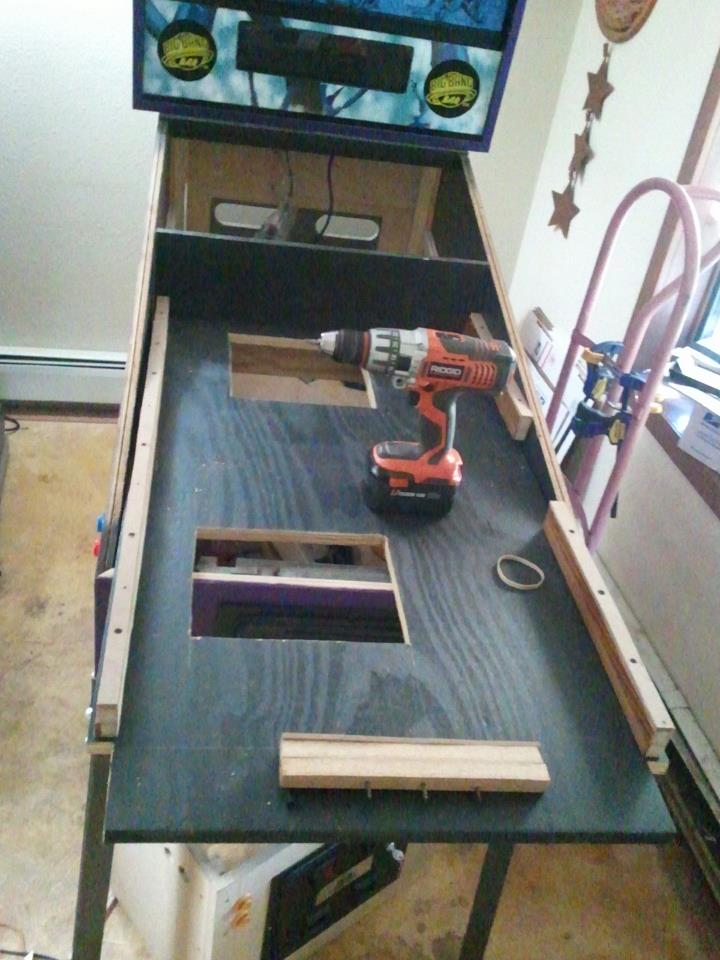
added the start button holes and a second flipper hole on the side for two botton games.
First coat of paint...
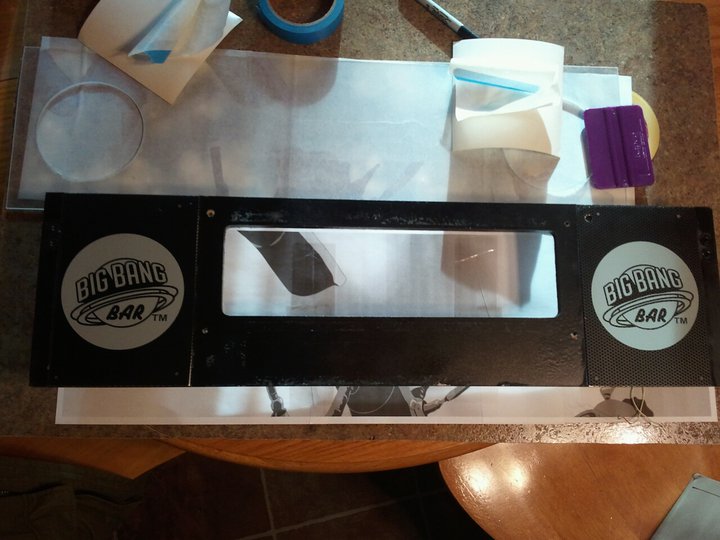
Custom vinyl speaker stencils made for my buy the great Mike Rush in the UK! Thanks Mike!
And the finished painted piece with vinyl art and plexiglass top cover. If I was going to do it
again, I'd possibly try and get it stuck directly to the plexi. The wood base layer has an irregular
surface and looks a little funky by itself with the decal on it. The original art would have been
reverse screenprinted directly on the back of the plexiglass cover. Much nicer results that way.
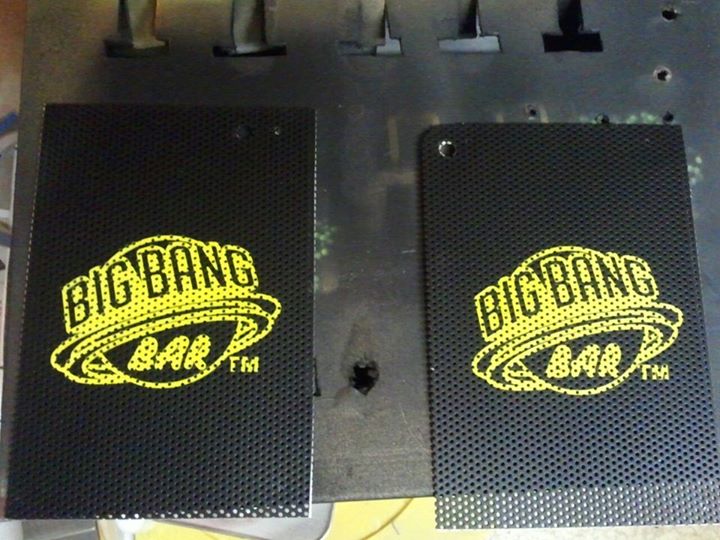
The ''finished'' speaker panel with backglass art. The art is printed on adhesive vinyl. I didn't
do a very good job placing it on the plexiglass, so it's a little bubbled when you look closely at
it. It will work fine until I eventually get a 27" monitor to replace it.
2013
Didn't realize until the thing was built, that having an easy access to the PC might be a good
idea. Sooo... got out the saw and cut a door out. And then Bondo... and paint... again...
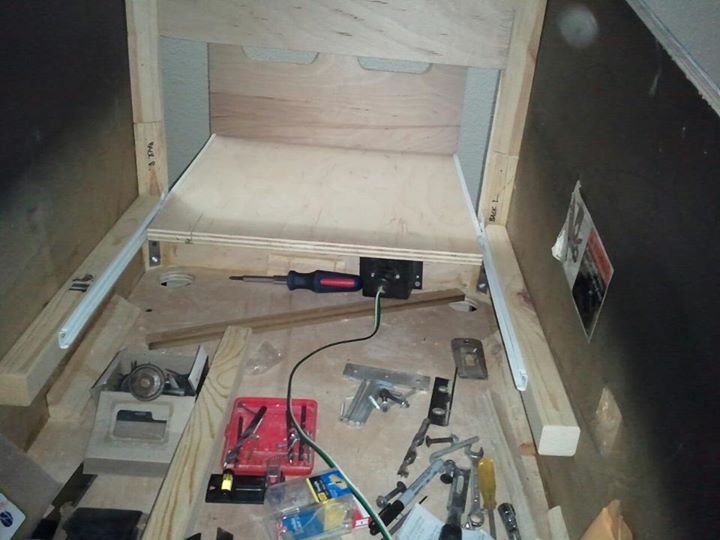
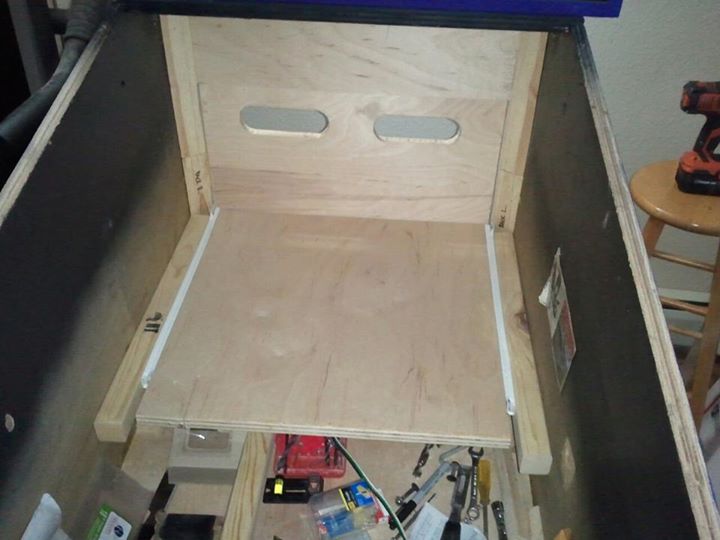
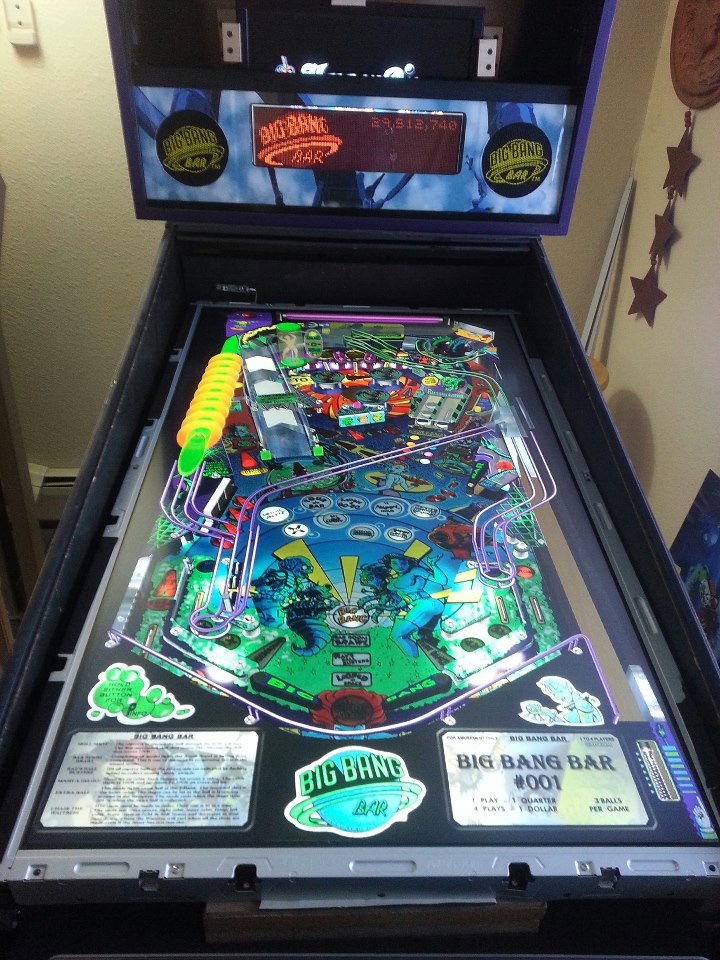
So there's a GREAT pincab builder on the Visual Pinball forums who came up with this design.
It's a similar idea to how real pinball machines hold the playfield, except this tray is used
to hold your tv monitor in place. If you need to work on the cabinet, the tray pulls up out
of the way allowing access to the interior. Very slick design and after you get it aligned
properly, it looks great.
I painted it black before mounting the monitor in place.
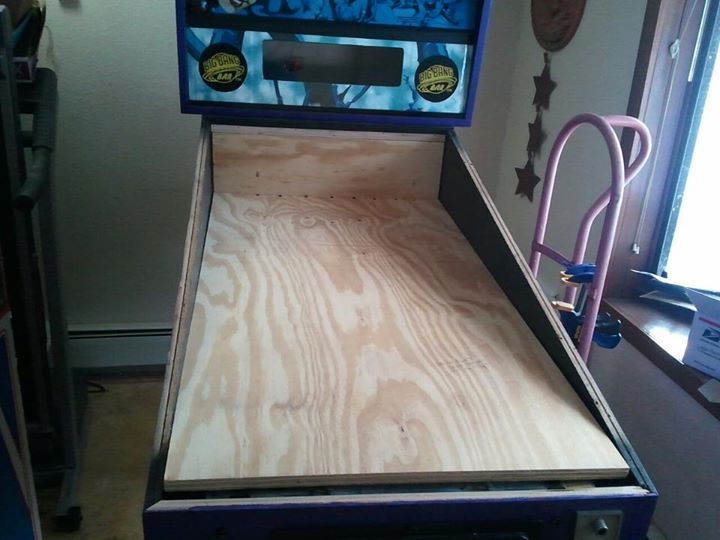
In order to route the cable connections, I had to open up the bottom a bit.
Plus it adds a little more airflow for cooling.
And mounted! There's no side rails in place yet. I need to get my cabinet art printed and
mounted before I can permanently mount those. I also need to figure out some sort of bezel
for the monitor, to hide the metal frame.
And... working!
Things still to do...
Optical/motion sense board for nudging purposes
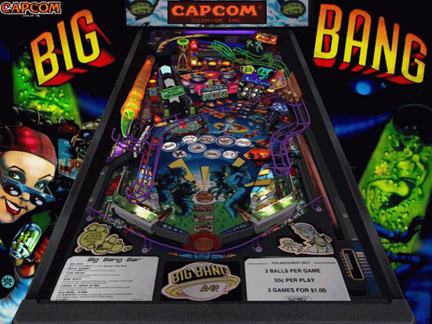
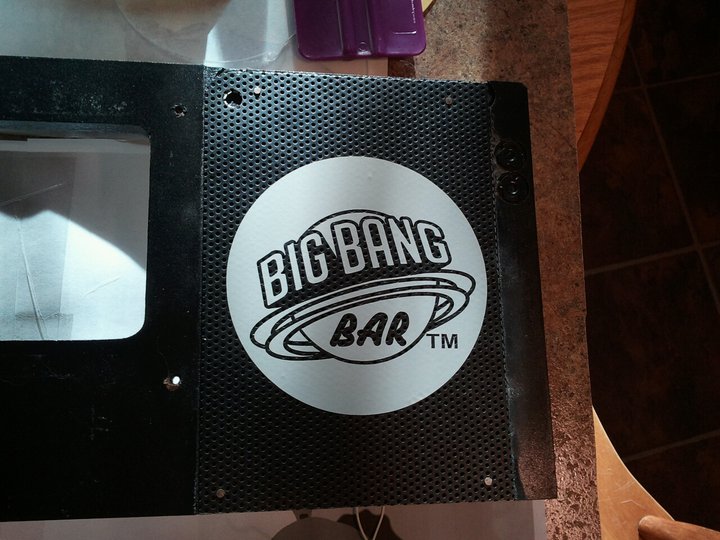
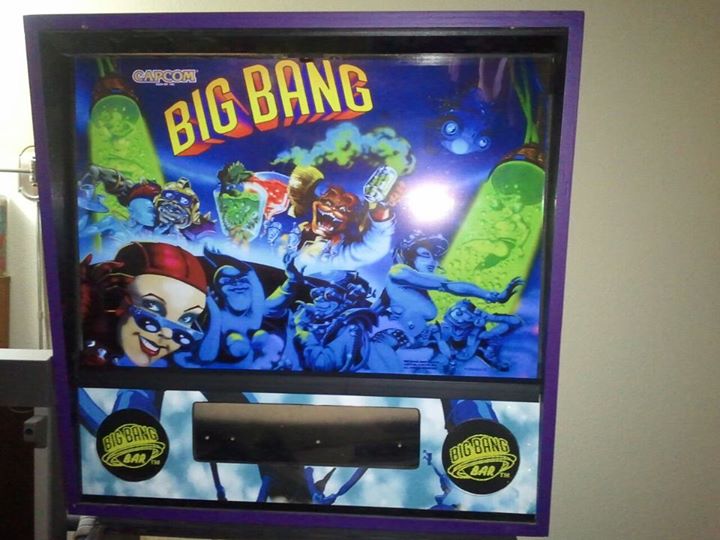
Cabinet Art. I have original Big Bang Bar Side Art, but the dimensions are off compared
to the size of my cab. I want to get it scanned, resized and reprinted.
Playfield Monitor Bezel/shroud
27" Backglass Monitor.
DMD (Dot Matrix) panel and driver PCB.
Solenoid driver and mini solenoids for force feedback.
A fair bit left to do. I have about 200-ish tables installed on the cabinet right now.
I've restricted myself to the best looking/best playing ones available. There's more
than I have, but many of them have pixelated/low res graphics. I'm trying to create an
immersive pinball experience, not a visit to the impressionsit wing of the museum.
All images, unless specified, are Copyright
2002-2006
Rookscastle.com.